You have an idea for a small SaaS product. You sit down to build it, open your AI coding tool, and start explaining what you need.
The first few results look promising. Then you need authentication. Then a database. Then permissions, a dashboard, and a way to connect everything. Your prompts get longer. You start repeating decisions you already made. Eventually, you spend more time explaining the project than moving it forward.
Add another provider account, API setup, and separate usage costs, and even a small project starts feeling unnecessarily complicated.
We’re making that starting point simpler.
Vibe Coder Planner Pro now includes GLM 5.3, an AI development model you can use without bringing your own API keys. Access to the model is included in your subscription, so you can plan your project and run coding tasks without first setting up a separate AI provider.
Here’s what that changes, and how to use it for an actual project.
Your development plan now comes with a model to execute it
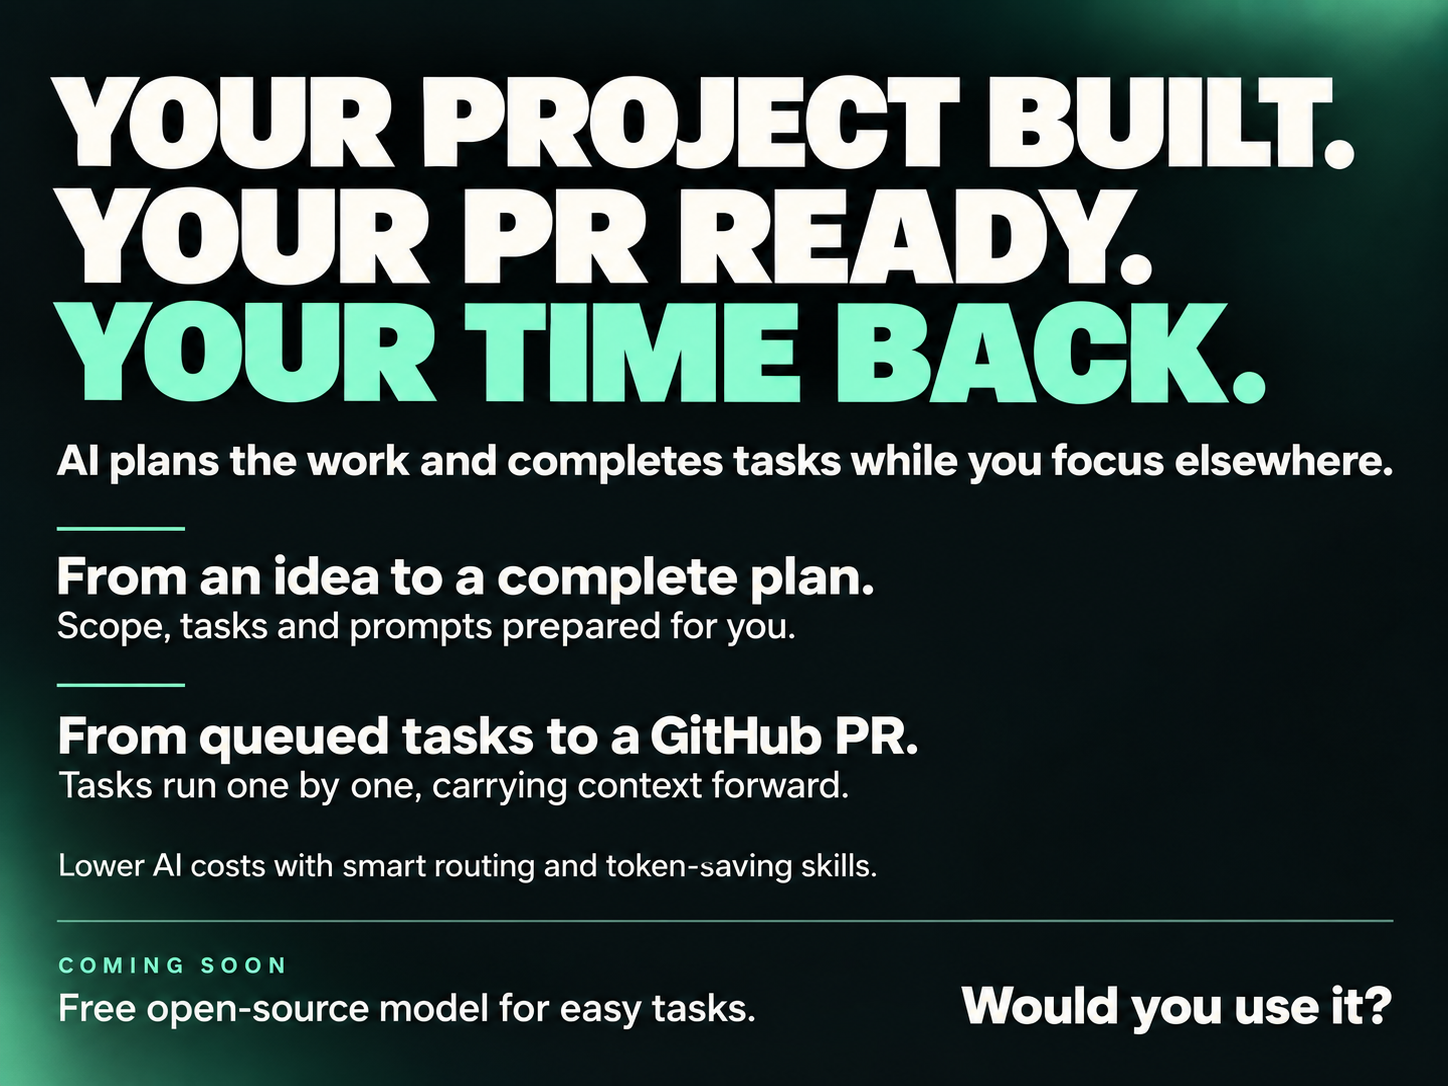
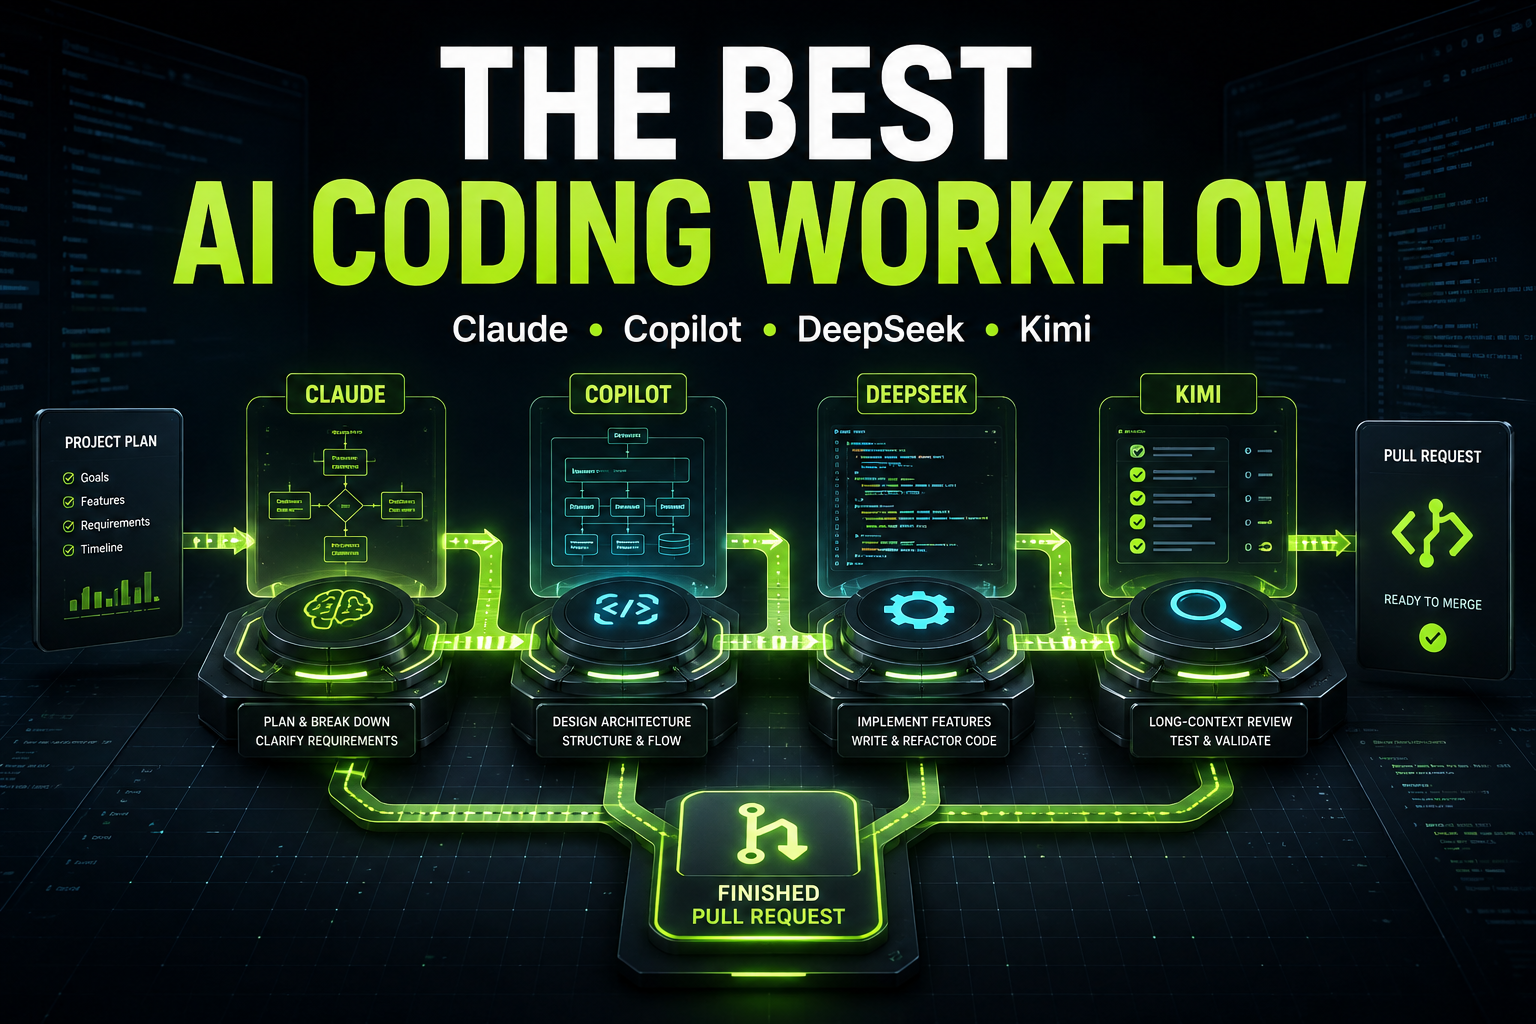
Vibe Coder Planner connects several parts of building software: describing an idea, breaking it into tasks, preparing coding prompts, and tracking the work.
The included model makes the transition from planning to execution easier. You have a plan to work through and an AI development option available inside the same product. You can still connect other supported providers with your own keys when you want to use them.
That matters when you’re experimenting with a side project. Before investing more time or money, you want to answer a practical question: can I get the first useful version working?
A good first milestone might be a customer submitting a request, a coach creating a training plan, or a business owner saving a new lead. Getting that one workflow working gives you something concrete to evaluate.
Let’s walk through an example: a simple client portal for a freelance developer or small agency. Clients should be able to sign in, submit requests, and check their progress. The agency should be able to manage those requests.
This is an illustrative project you can adapt to your own idea.
Step 1: Create your account and describe a small first version
Go to vibecoderplanner.com and create an account.
You can try the planning workflow before subscribing. The free preview includes one AI-generated project plan, the task outline, and the first three task prompts. Access to the included development model comes with Pro or Enterprise.
For your project description, explain who will use the application and what they need to accomplish. Here’s an example:
Build a client portal for a small web development agency using Laravel and Vue. Clients should sign in, submit support requests, and see the status of their own requests. An administrator should see all requests, assign a status, and reply to clients. Keep the first version focused on these workflows. Leave billing, live chat, and file uploads for a later release.
This gives the project a useful boundary. You’ve described the users, the main workflow, the technology, and what can wait.
If you already have a codebase, describe what exists. For example, explain that login is already implemented and the new work should use the existing user accounts.
Step 2: Generate the plan and read it before starting execution
Vibe Coder Planner turns the description into development tasks, with complexity assessments, model recommendations, and task-specific prompts.
Read the plan as the person responsible for the product. Does it describe the application you intended to build? Does it introduce features you didn’t ask for? Are the foundations scheduled before the features that depend on them?
For our client portal, a sensible sequence would be to establish the application structure, handle authentication and permissions, create the request data model, and then build the client and administrator screens.
Look closely at permissions. “Clients can see requests” leaves an important question unanswered: whose requests?
A clearer requirement is:
Each client can view only their own requests. Administrators can view all requests. Access restrictions must also apply when someone tries to open a request directly by its URL.
A few minutes spent clarifying this requirement can prevent a much larger correction later.
Step 3: Activate Pro to access the included model
When you’re ready to execute tasks using the included model, activate Pro.
At the time of this announcement, Pro is $4.99 per month. It includes unlimited project planning while subscribed, every task prompt, and the GLM 5.3 development model. Other connected AI providers remain optional and may have separate usage or subscription charges.
For execution with the included model, use GLM 5.3 rather than a provider that requires your own credentials. You don’t need to generate an external API key for the included model.
Step 4: Connect GitHub and link your project’s repository
To have the AI work on your project’s files and deliver changes through pull requests, connect GitHub.
Open AI Integrations from the dashboard sidebar, choose Connect GitHub, and complete GitHub’s authorization flow. Then open your project, choose Link GitHub Repo, and select the repository for that project. These are the connection steps described in Vibe Coder Planner’s GitHub guide.
If you’re starting fresh, use a repository dedicated to the new application. For an existing product, check that you’ve selected the correct repository before running a task.
This connects your development plan to the code you’ll actually review and run.
Step 5: Start with one clearly defined task
Choose the earliest task whose prerequisites are ready.
For the client portal, don’t start with the administrator dashboard if the request data model hasn’t been created yet. Start with a foundation the following tasks can build on.
Before execution, read the task prompt and check that it describes a result you can verify. A request-management task, for example, should explain which fields are required, who can create a request, and who can access it afterward.
Vibe Coder Planner’s documented execution flow starts when you move a configured task from Backlog to In Progress. The agent then works with the linked repository, creates a branch, implements changes, and opens a pull request. The execution panel shows progress and changed files.
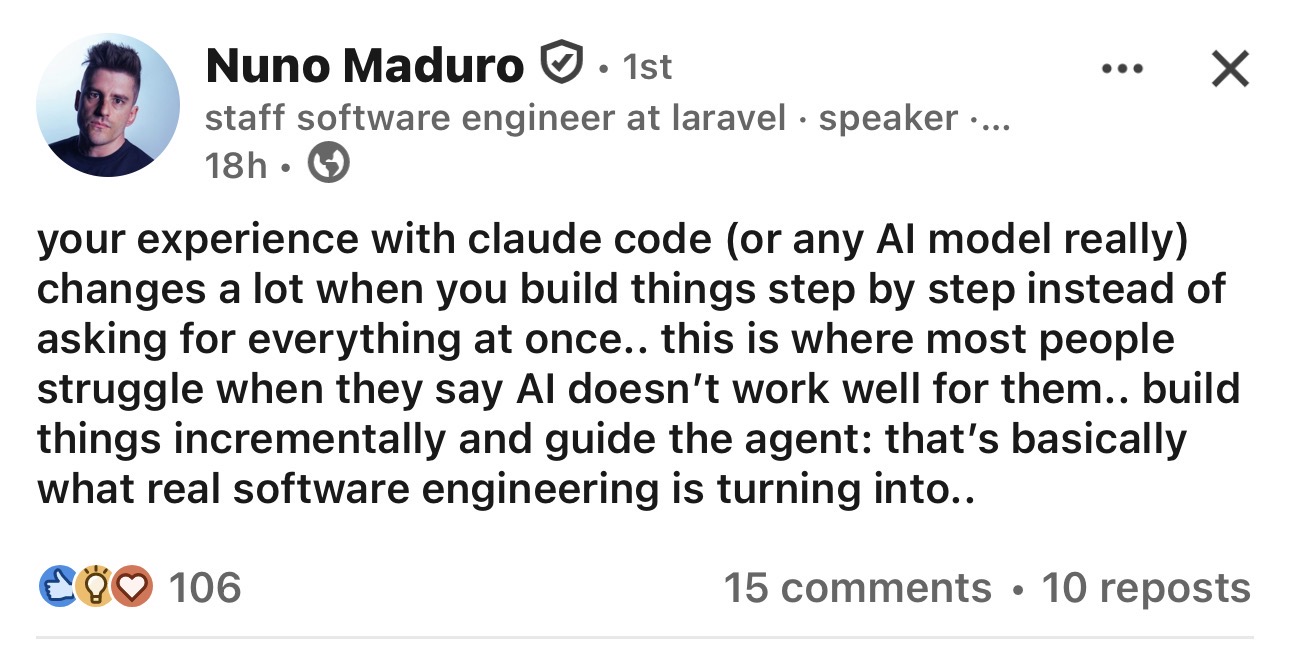
For your first run, follow the task through to completion. This helps you understand the workflow before you work through the rest of the plan.
Step 6: Review the result against the original requirement
When the pull request is ready, inspect what changed and try the feature.
For the client portal, create two test client accounts. Submit a request as the first client, then sign in as the second. Can the second client see it? What happens if you paste the first request’s URL into the browser?
Then check the ordinary workflow. Can a client submit a request with the required details? Does it appear in the administrator’s list? Does a status update appear correctly for the client?
These checks tell you whether the feature meets your requirement. A generated screen or a successful execution log alone cannot answer that.
If something fails, turn the failure into a specific correction:
Client B can access Client A’s request by opening its URL. Restrict request access to its owner or an administrator, and add a test covering unauthorized access.
That gives the next task a reproducible problem and a clear expected result.
Step 7: Complete the task, then build on it
Once you’ve reviewed and tested the changes, complete the task. In the documented GitHub workflow, moving a task to Completed triggers a merge request for its pull request; any required GitHub checks or reviews still apply. Treat that action as approval of the code.
Continue with the next task in the plan.
For this example, the first useful milestone is straightforward: a client submits a request, the agency responds, and the client sees the update. Get that working before adding billing, attachments, notifications, or a more elaborate dashboard.
You’ll have something you can demonstrate to a potential user and ask a much better question: “Would this help you manage requests?”
A more practical starting point for your next project
Including a development model removes one setup requirement. The value of the workflow still comes from defining the work clearly, executing manageable tasks, and checking the results.
You decide what the application should do. The plan makes the work easier to follow. The included model gives you a way to start executing it without arranging another AI provider account first.
If you’ve had an idea sitting in your notes for weeks, start with its smallest useful workflow. Describe it, review the plan, and build the first task.